We are going to use PhantomJS for this tutorial. You can download it here.
Make sure you put it in your Environment Variables so that we can run “phantomjs ourscript.js” in our command line.
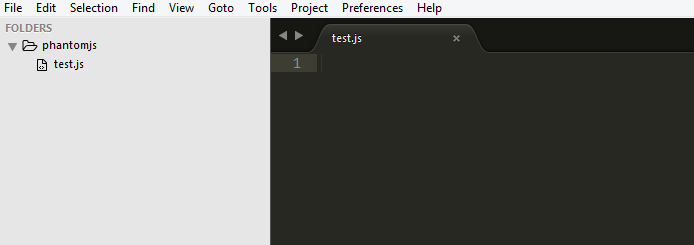
let see our very simple folder and file structure:
Now for our mandatory Hello World, just insert
console.log("Hello World")
and open our command line and navigate to our folder
then run the command
phantomjs test.js
You should get the “Hello World” string in your terminal.
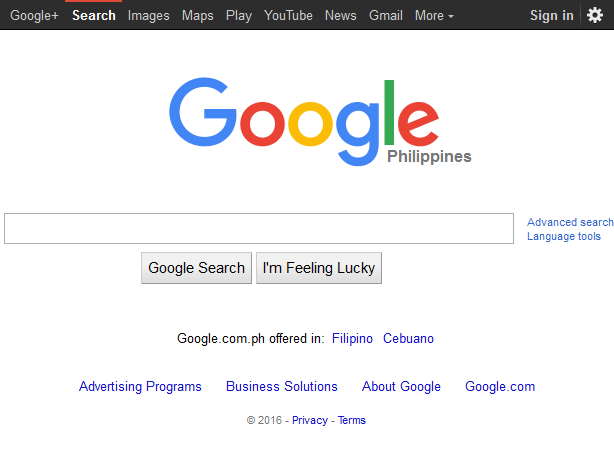
The next thing we will do is to navigate to a certain website and take a screenshot of the page.
Remove the console.log we wrote and change it to
var page = require('webpage').create();
page.open('http://google.com', function(status) {
  console.log("Status: " + status);
  if(status === "success") {
    page.render('result.png');
  }
  phantom.exit();
});
We just visit the google page and take a screenshot of it.
Just run “phantomjs test.js” in your terminal and see it yourself.
Now, the exciting part is how can we navigate to a certain page and enter something from the inputs and submit it?
We will take the facebook login as an example. First, we need to navigate to the login page of facebook.
var page = require('webpage').create();

page.open("http://www.facebook.com/login.php", function(status) {
  console.log("Facebook login: " + status);
  if (status === "success") {
    page.evaluate(function() {
        document.getElementById("email").value = "enter your email here";
        document.getElementById("pass").value = "enter your password";
        document.getElementById("loginbutton").click();
    });
    window.setTimeout(function() {
        page.render("login.png");
    }, 5000);
  }
});
Basically, what we’re doing is we navigate to http://www.facebook.com/login.php and get the element with an ID of email and pass, then submit the loginbutton.
You can see that information by inspecting the elements.
We set 5 seconds timeout before we take screenshot because we allow the page to load first. You can play around with the timeout depending on your network speed.
Now we will declare variables above our script that we will use in stalking our friends timeline.
var page = require('webpage').create();
var openTimeline;
var timeLineUsernameToStalk = ['username1','username2'];
var count = 0;

...
openTimeline is the function we will create to, of course, open a timeline.
timelineUsernameToStalk is the list of our friends username.
We can get that by visiting our friends timeline. That would be “username1” in “www.facebook.com/username1”
count is just the counter for how many timelines we already visited.
We will now create the openTimeline function
var page = require('webpage').create();
var openTimeline;
var timeLineUsernameToStalk = ['username1','username2'];
var email = "your email";
var password = "your password";
var count = 0;

openTimeline = function(){
  if(count == (timeLineUsernameToStalk.length)){
    phantom.exit()
  } else {
      page.open("http://www.facebook.com/"+timeLineUsernameToStalk[count], function(status) {
       if (status === "success") {
        var scroll_num = 1;
         window.setTimeout(function() {
           console.log("Taking screenshot...");
             page.render("img/"+timeLineUsernameToStalk[count] +".png");
             page.evaluate(function(){
                console.log("Scrolling...");
                window.document.body.scrollTop = document.body.scrollHeight;
             });
              window.setTimeout(function() {
               console.log("Taking another screenshot...");
               page.render("img/"+timeLineUsernameToStalk[count] +"-2.png");
               count++;
               openTimeline();
             },5000);
         } , 5000);
       } else {
          console.log('Failed openning '+ (timeLineUsernameToStalk[count]) +'...');
          count++;
          openTimeline();
       }
     });
  }
};

page.open("http://www.facebook.com/login.php", function(status) {
  console.log("Facebook login: " + status);
  if (status === "success") {
    page.evaluate(function() {
        document.getElementById("email").value = email;
        document.getElementById("pass").value = password;
        document.getElementById("loginbutton").click();
    });
    window.setTimeout(function() {
        page.render("img/login.png");
        openTimeline();
    }, 10000);
  }
});
Basically, we just navigate to our friends timeline and take a screenshot of it. We also scroll a little bit to get more information. We add timeouts to allow the page to load before we take screen shots.
You can test it now and see if it works.
For more information about what else PhantomJS can do, visit their official documentation.
For questions, please comment bellow.
Happy coding!

